Mood Sewciety Kleinia Blouse
- Emily
- Jan 23, 2022
- 3 min read
Updated: Jan 26, 2022
Another free pattern today - and one I enjoyed so much I've made it twice!

Before I get into things, however, I need to warn you that although this top is simple in design, the devil is in the detail - and I've made the poor decision both times to choose slinky, slippery fabrics.
The charm of this pattern is the finishing; with french seams careful hemming all raw edges are completely enclosed which gives a very delicate and elegant effect.
I'm using a 100% silk I picked up from Darn Cheap Fabrics, and it has turned out to be a Louis Vuitton deadstock! The first time I made it (photos below) I also turned to Darn Cheap Fabrics and chose a black cotton crepe which is super breezy (but a pain to work with!). Both fabrics were around 135cm wide and I used 1m each.
I find that I need to check Mood's pattern pieces against my body double as each pattern can vary a lot in sizing. Here I've done a size 4/6 for the body, grading out to a 10/12 for the sleeve length and back to a 4/6 around the neck.
The instructions by Mood are very sparse, although to to be fair it is a simple construction! True to myself I did deviate slightly both times I've made the Klenia Blouse, and I improved my methods on my second iteration.
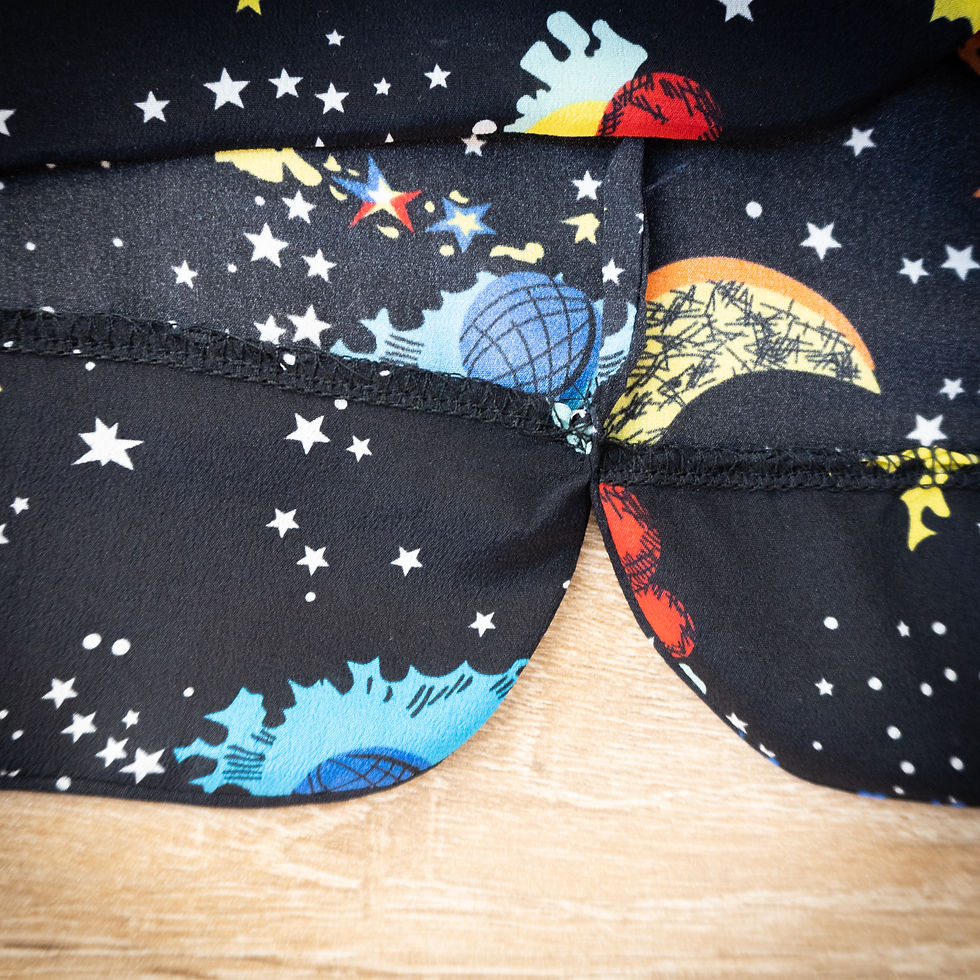
1. Mood suggests doing a rolled hem around the bottom, after already joining the side seams. I couldn't get this to sit nicely the first time and since I was using slippery silk I decided to forgo this feature and tried a facing instead.
All I had to do was cut out pieces of the bottom 3 inches of the front and back pattern pieces, I overlocked the top edge then as the very first step of the pattern I sewed them on with right sides facing.

I clipped the corners, turned them right sides out and pressed. You could choose to understitch the facing but the silk pressed well so I didn't bother here.
2. Next, attach the yoke pieces to the main body pieces. I've done this using both a flat felled seam and a fake felled seam (by stitching down a french seam). I went against the recommended instructions again here because my soft fabrics show every bump and I wanted these seams to be as smooth as I could get them.

3. I then attached the front to the back at the shoulders using a french seam, then I got to work on the button plackets as instructed. I interfaced my silk version because I couldn't get it to press evenly, but I didn't have this issue on the cotton crepe one. This is where I get really sneaky - I discovered that the wide neckline means I can just pop this on over my head without undoing any buttons, so why have any buttonholes? I sewed the placket shut (not before adding a little cute little label) and stitched the buttons directly onto the top!

When it comes to buttons, I quite prefer having a contrast, so instead of making some self-covered buttons I used some adorable glittery ones I found at Spotlight.

4. Finally, I finished off the sleeve and neck hems with a narrow hem on each. I could have done a facing or made some binding for the neck, but I was pretty short on fabric and decided to just do the easy option.
To finish, I prick-stitched the bottom hem facing into place and gave it one final press.


My original Klenia Blouse:
 |  |
 |  |

Comments